This week we have started learning how to use Avid Media Composer. Avid is a software where we will be editing all of our projects.
Our task was to take 13 videos of surfing and one audio track and edit them together.
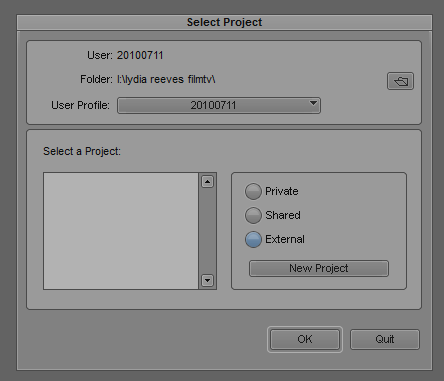
Firstly,we had to set up our project. By clicking on new project, it allowed us to choose the format and aspect ratio. 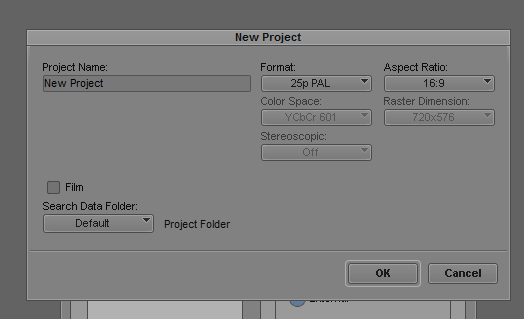
The format I chose for this is 25p PAL. The PAL stands for Phase Alternative Line. Another option was NTSC. NTSC stands for National Television Systems Committee. PAL runs at 25 frames per second while NTSC runs at 29.97 frames. I also chose the 16:9 Aspect Ratio so it can be viewed on wide screens like the computer monitors at school and most modern televisions.

Then we had to make bins where we could put our video and audio files. Bins are basically folders so we can easily locate our files. Next we added all of our files to the correct bins so we could get started on editing. 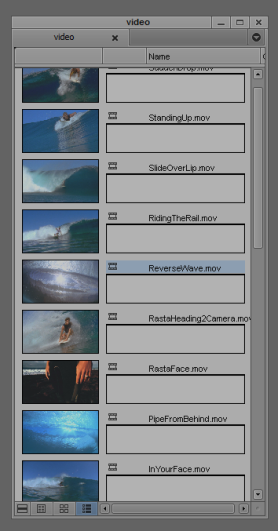
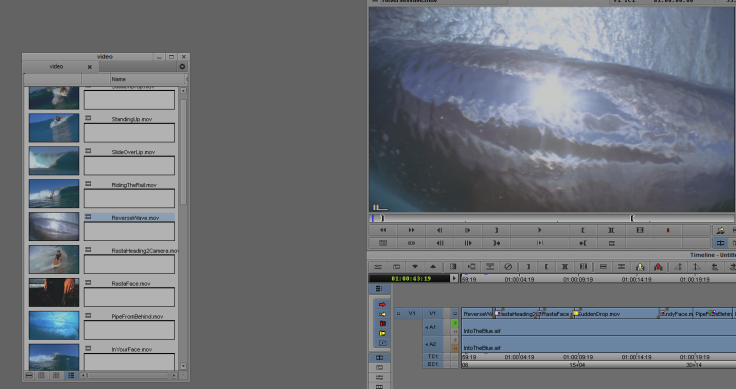
This is my video bin. I viewed it in thumbnail view so I can see a preview of each video and the name of each one so I could easily identify them.
Next I selected a video and dragged it into the first screen so I could edit it and choose the Mark In and Mark Out points. In Avid and most video editing software, keyboard shortcuts are used so its quicker.
- I– This is the Mark In key. This means that you can cut the video and it starts after the Mark In key.
- O– This is the Mark Out Key. This marks the end of the clip and the video cuts after this mark.
- J– This allows the video to be played in reverse. Pressing it more than once speeds up it going backwards.
- K– This pauses the clip.
- L– This plays the video forward. Pressing it more than once speeds it up.
- → – This moves the video forward by one frame. This can be used for fine tuning a video and can be very useful.
- ← – This moves the video backwards by one frame.
- V– This is the Splice-in key. This means that the video that is being worked on in the left screen is added to the full track which can be previewed on the right screen. The Splice-in key cuts the video that the blue line on the timeline is on and adds the clip in there.
- B– This is the Overwrite key. This overwrites what ever video the blue line on the timeline is on and replaces it with the clip.
There are other keyboard shortcuts but these are the ones we were taught to use for this practical.
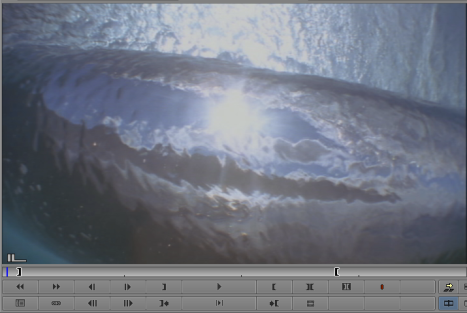
The black lines on the video here indicate my mark in and out point. These are so I can cut the video how I want before I add it onto the timeline.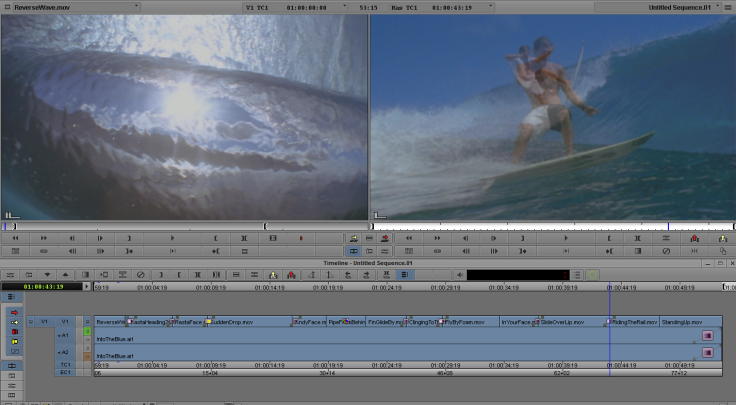
As the clip gets added to the timeline, I can view it below and on the right screen to see a preview of the full video. After I had edited all my videos, I added transition effects between each one so they would blend well together. 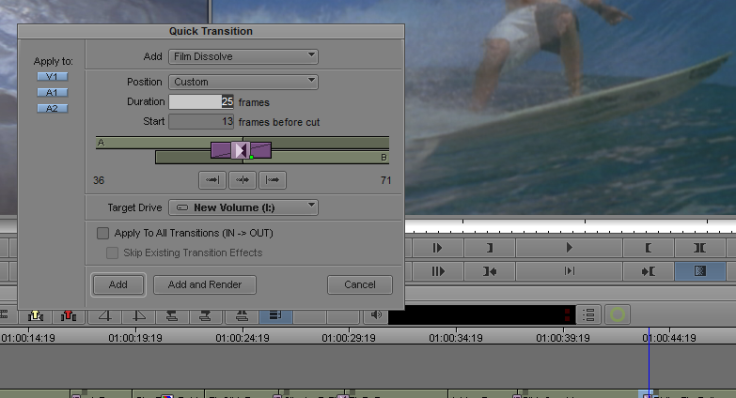
This was easy to do and fun as I could experiment with each effect and see what worked well. After this we had to render all of them so they would show up on the final video. I also added the audio into my final clip.
To make sure everything gets put into the final clip, everything wanted on the timeline must be selected. To export properly, next to export setting, I had to click options.
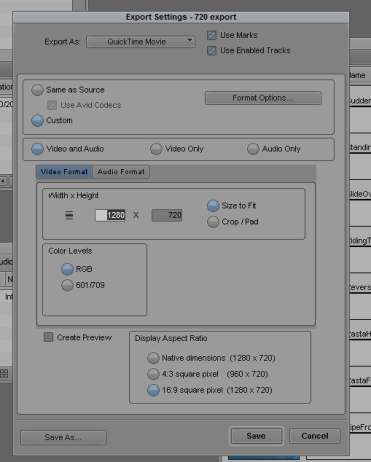 Next I exported it as a QuickTime Movie and changed the Format Options.
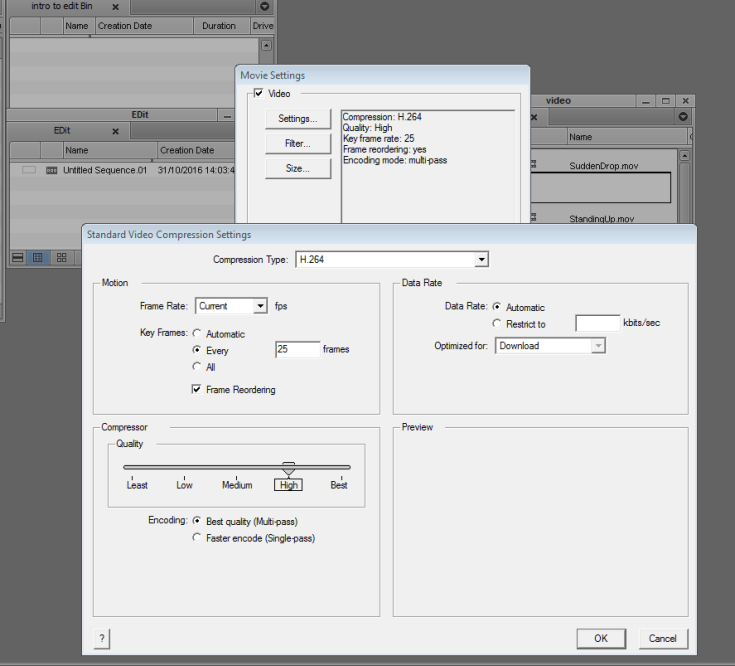
I made sure the key frame rate was at 25. Then I could save my settings and export my video. Below is my finished surfing video.
Overall, I really enjoyed learning how to use Avid. There were times when I found it hard to cut the videos and add them into the correct place on the timeline but these were easily solved. Even though I am not a big fan of my final outcome, I think it’s good for a first attempt. I found it hard as there was no specific order for the videos to be in but I think this also allowed me to be creative and freely use Avid. Using the keyboard shortcuts was really helpful and easy and saved a lot of time as I could quickly scroll to find a specific point in a video.
REFERENCES:
Avid, (No Date), Avid Media Composer Logo, https://twitter.com/mediacomposer, (Downloaded: 1st November 2016)

Leave a comment